trees
Daily walk task 3
This exercise is similar to the two pictures that you drew last week, but you should spend twice as long on it.
The main difference is that I want you to think about contrast. Contrast in black and white pictures is the difference between light and dark in your picture. If a picture is said to have more contrast there is a big difference between light and dark. If the contrast is reduced, the difference between light and dark is lessened. If you’re messing with the settings on your television, increasing the contrast makes your pictures look more crisp and decreasing it makes the picture look more grey and flat. This can be used as a way to pull focus towards the front, or focal point of your picture.
Look at the picture below: the rhubarb leaf on the right has much greater contrast than the one on the left. It appears bolder and jumps out from the screen/paper more than the other two. Drawing in this way is a way to get viewers to focus on a particular part of your picture.

Now you’re ready for the lesson – download it below
Daily walk task 2
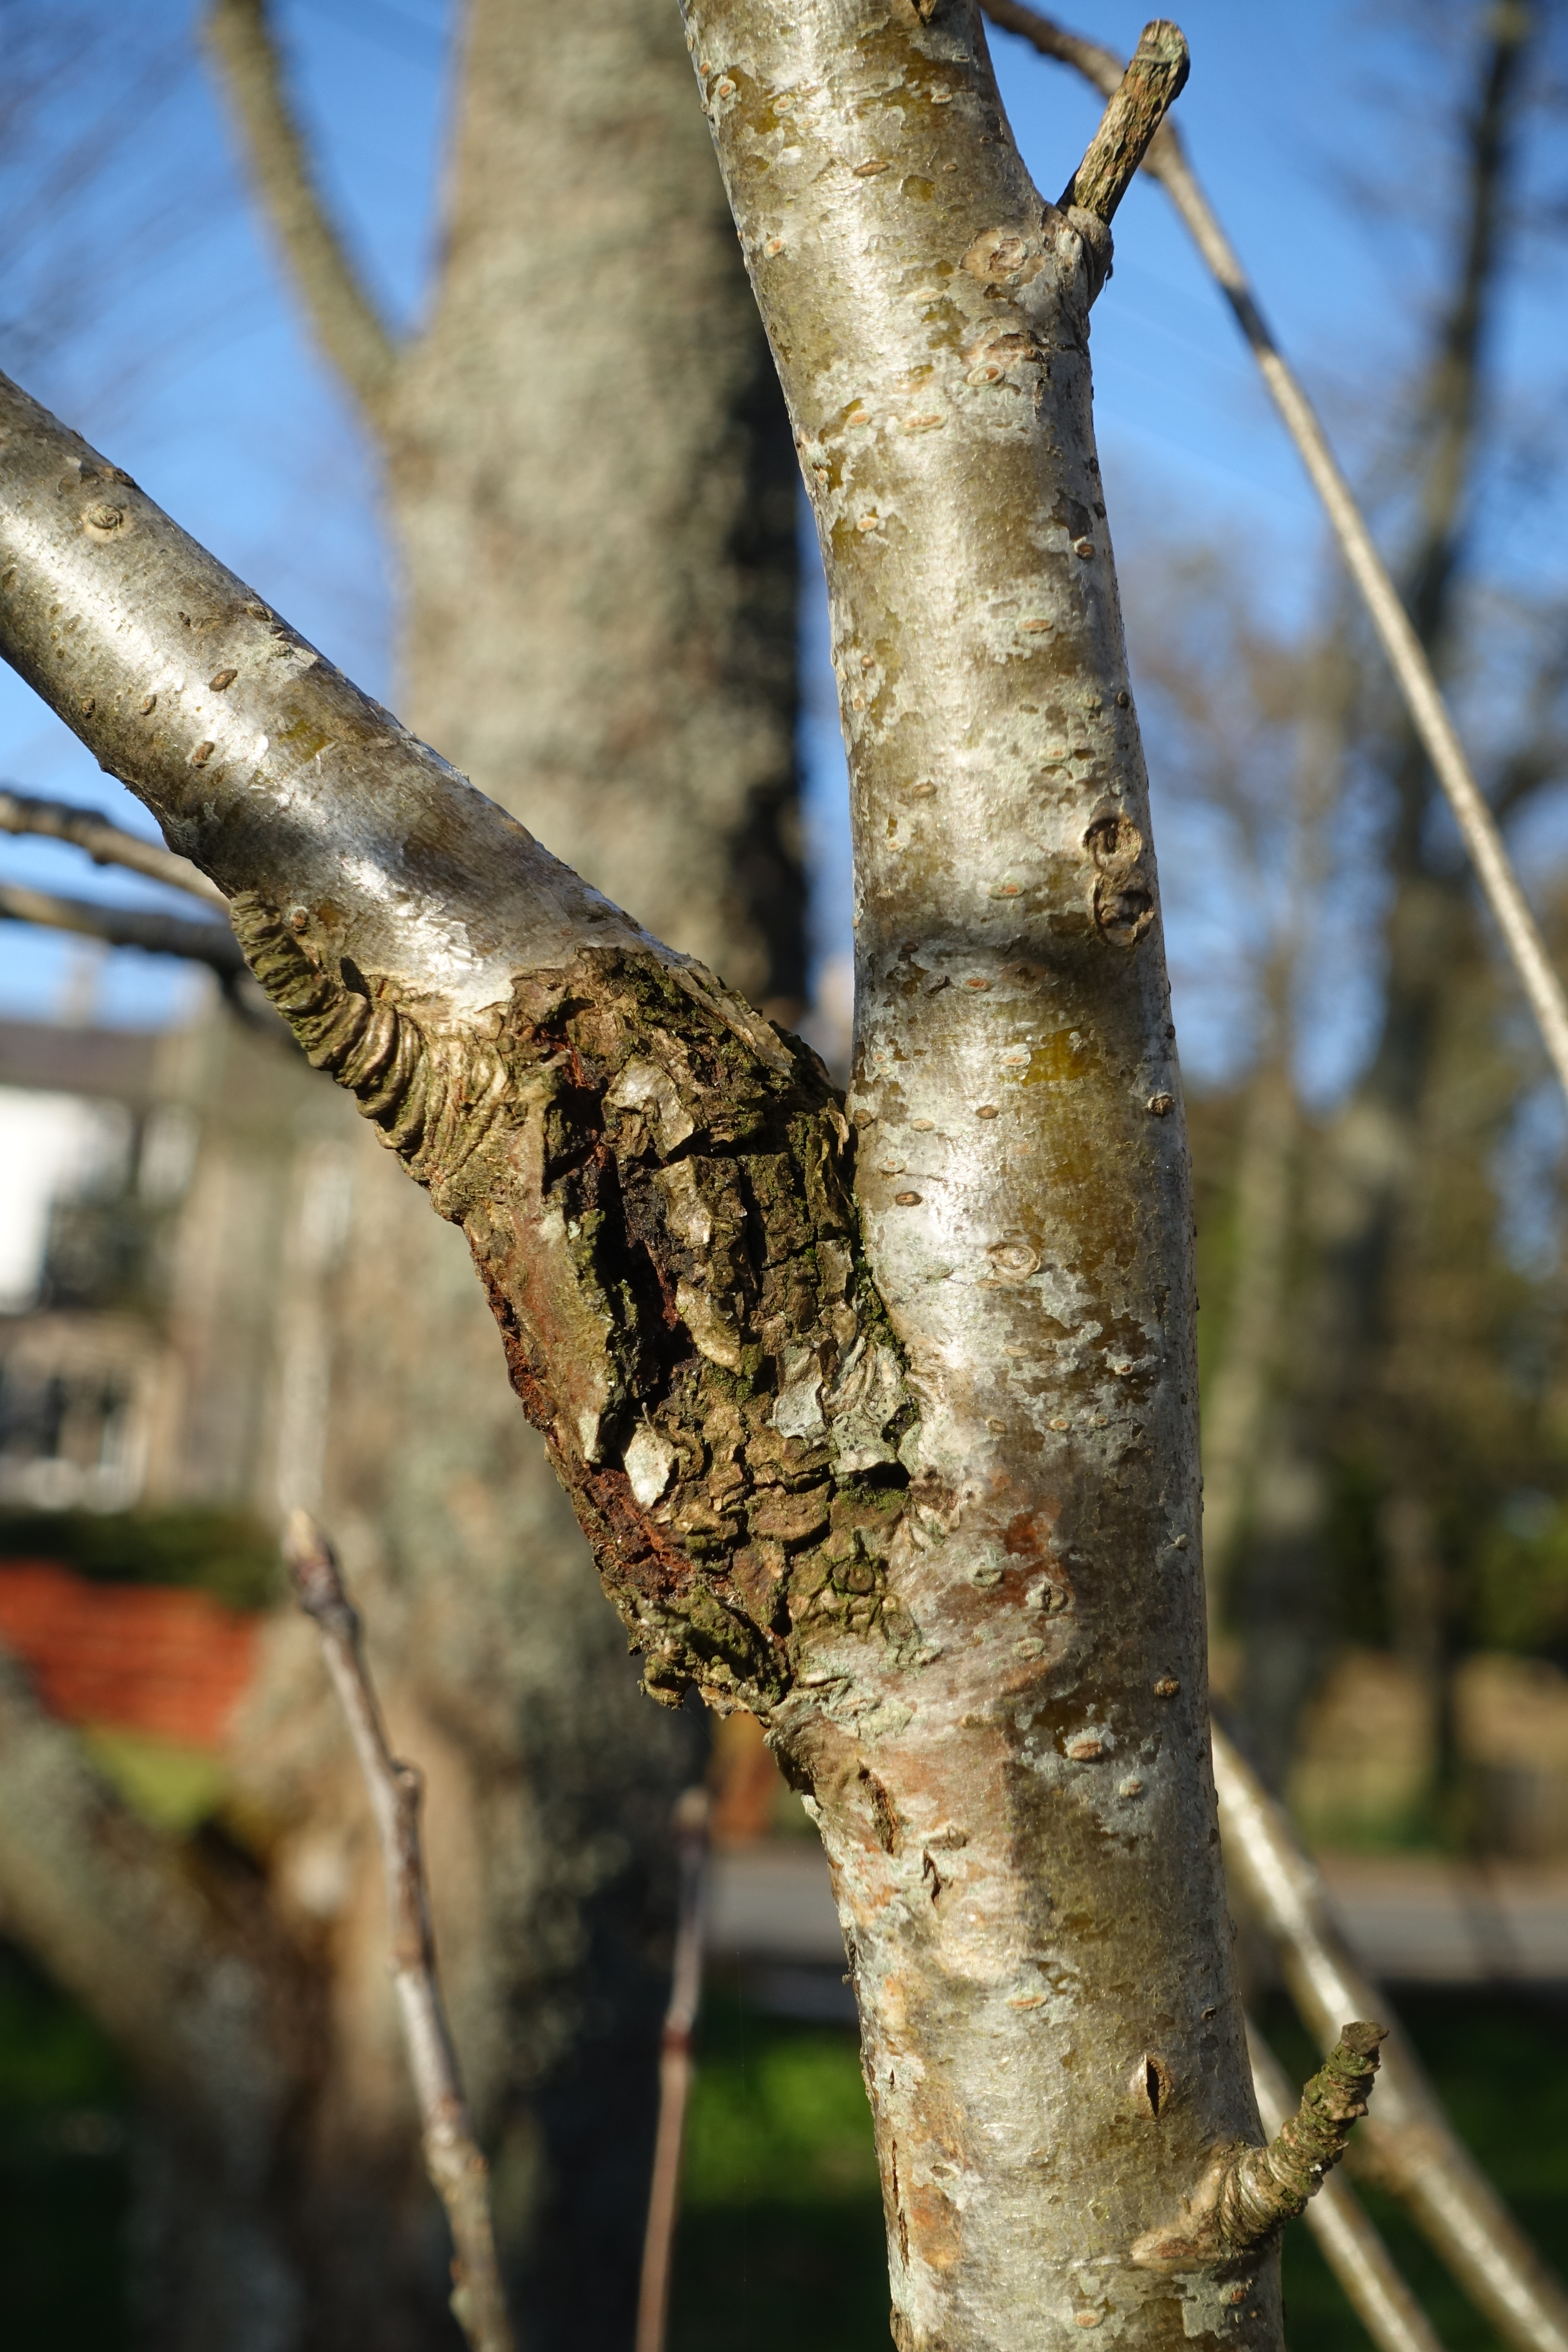
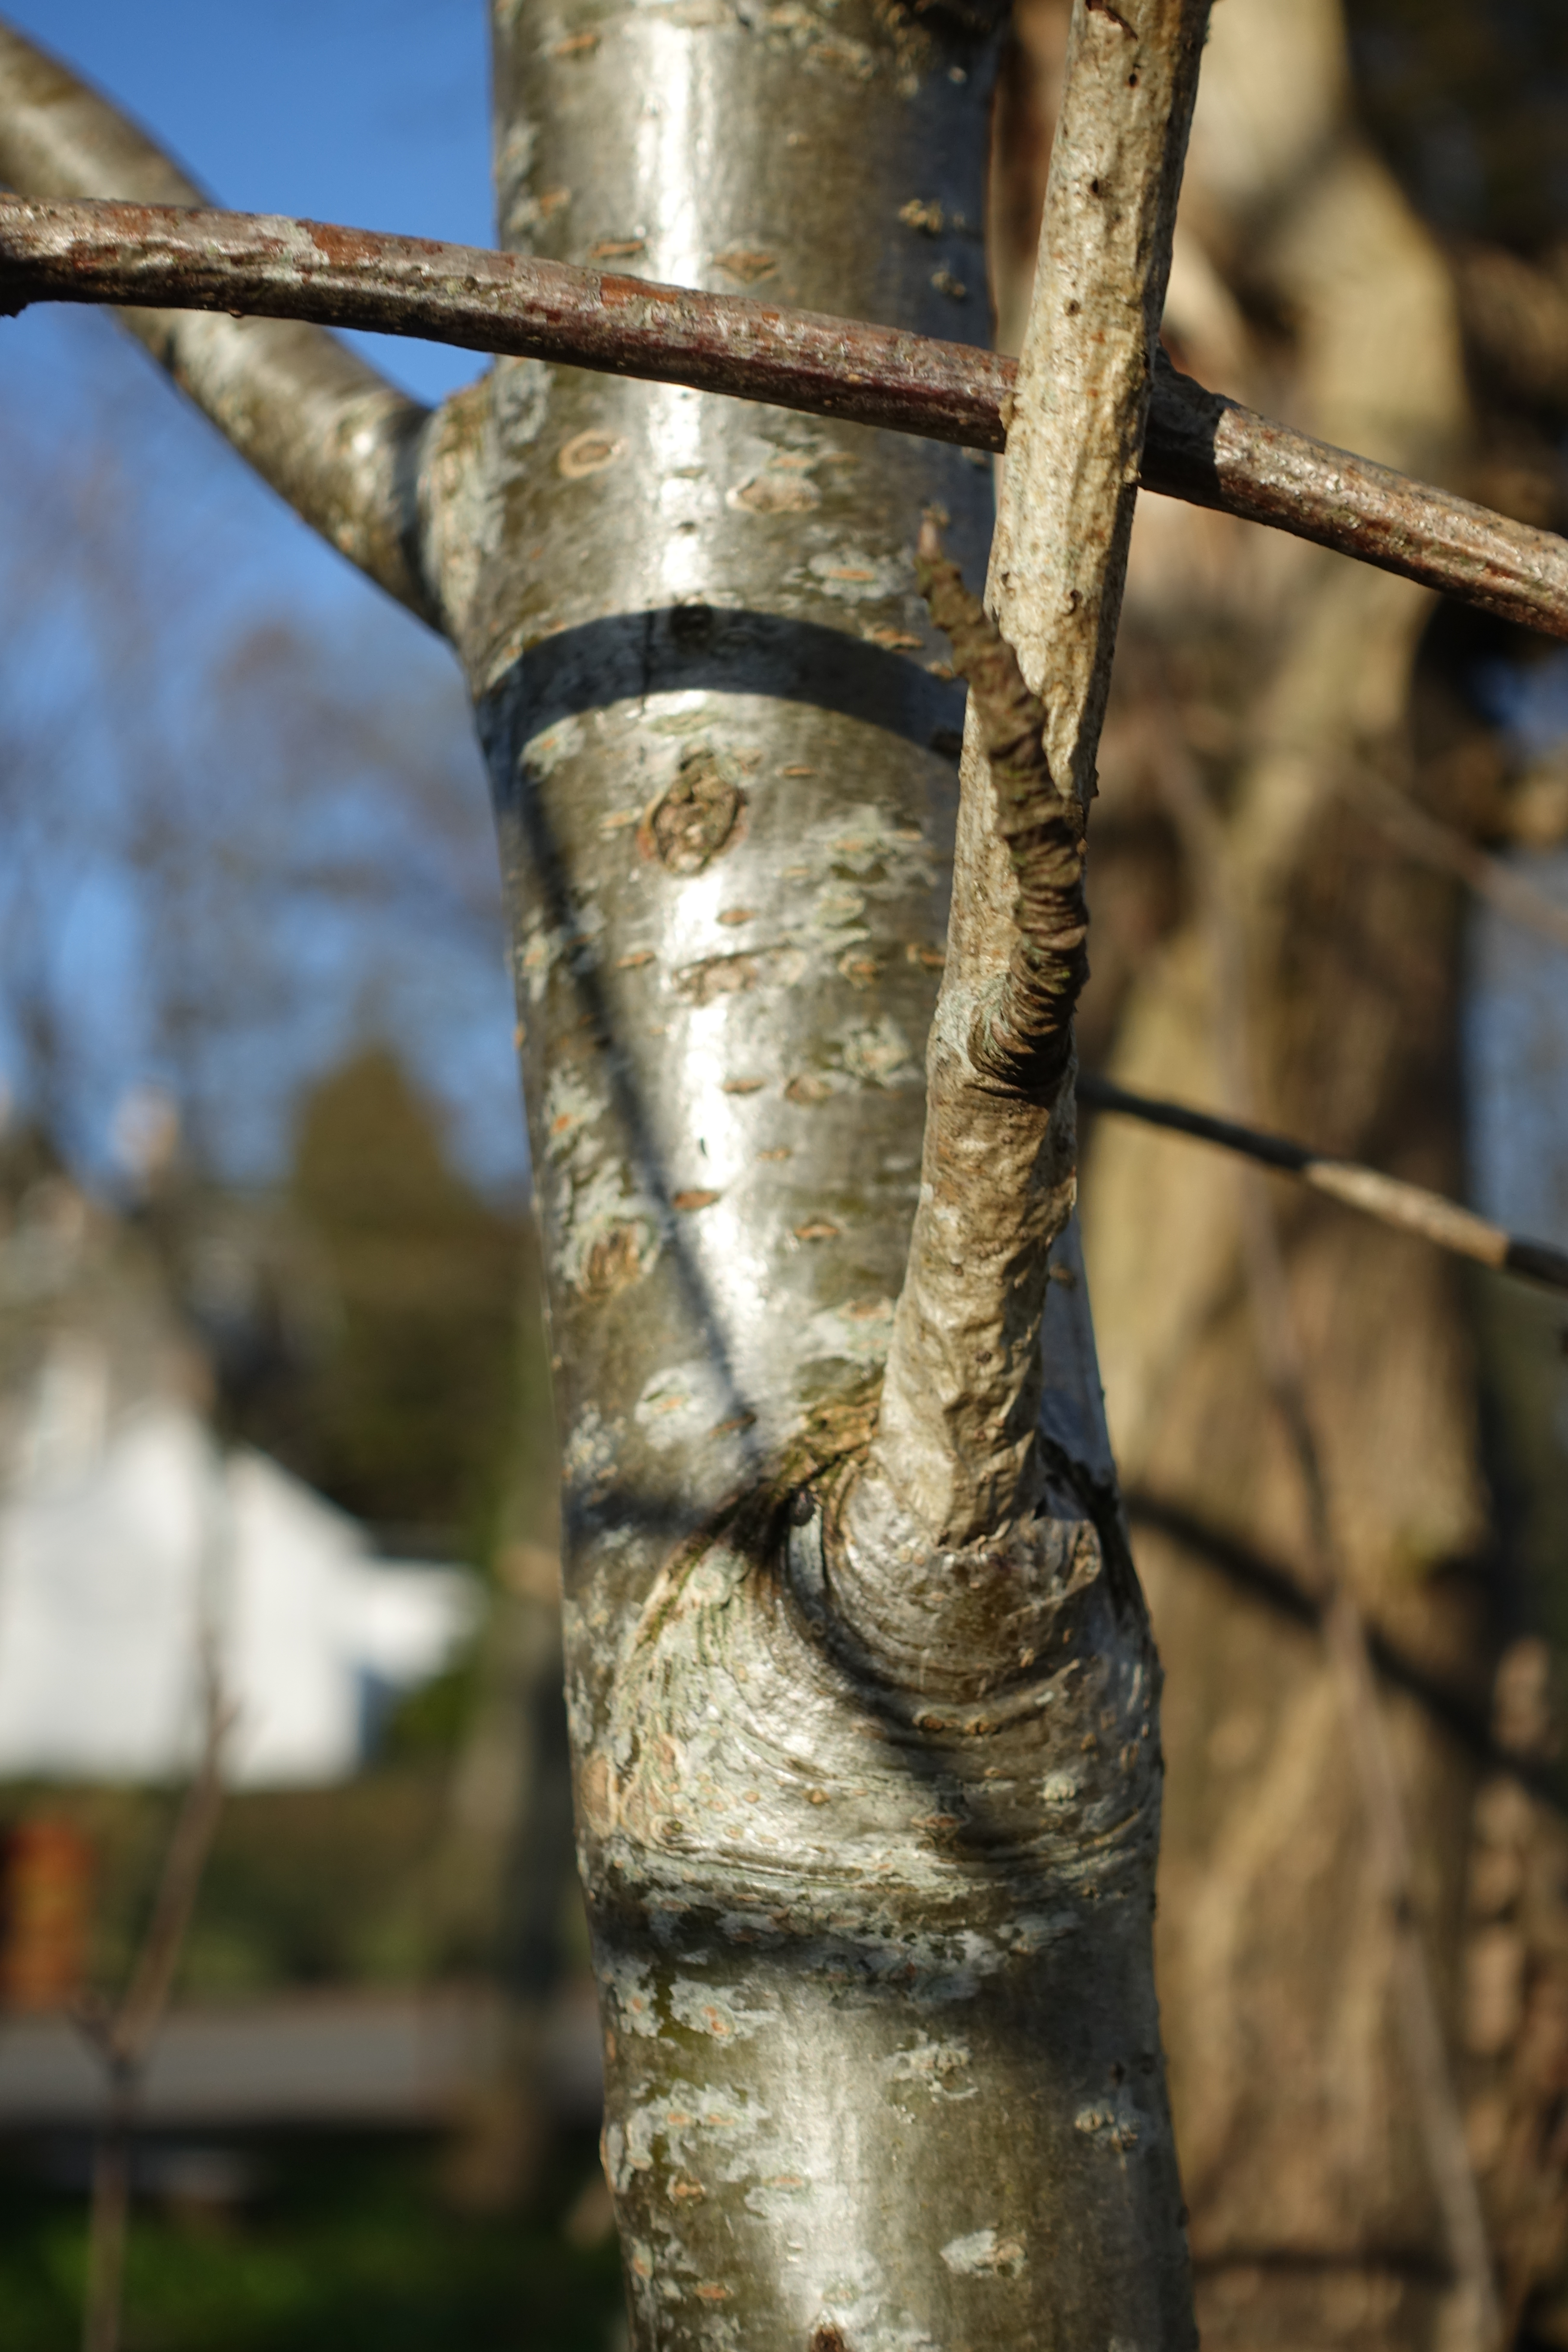
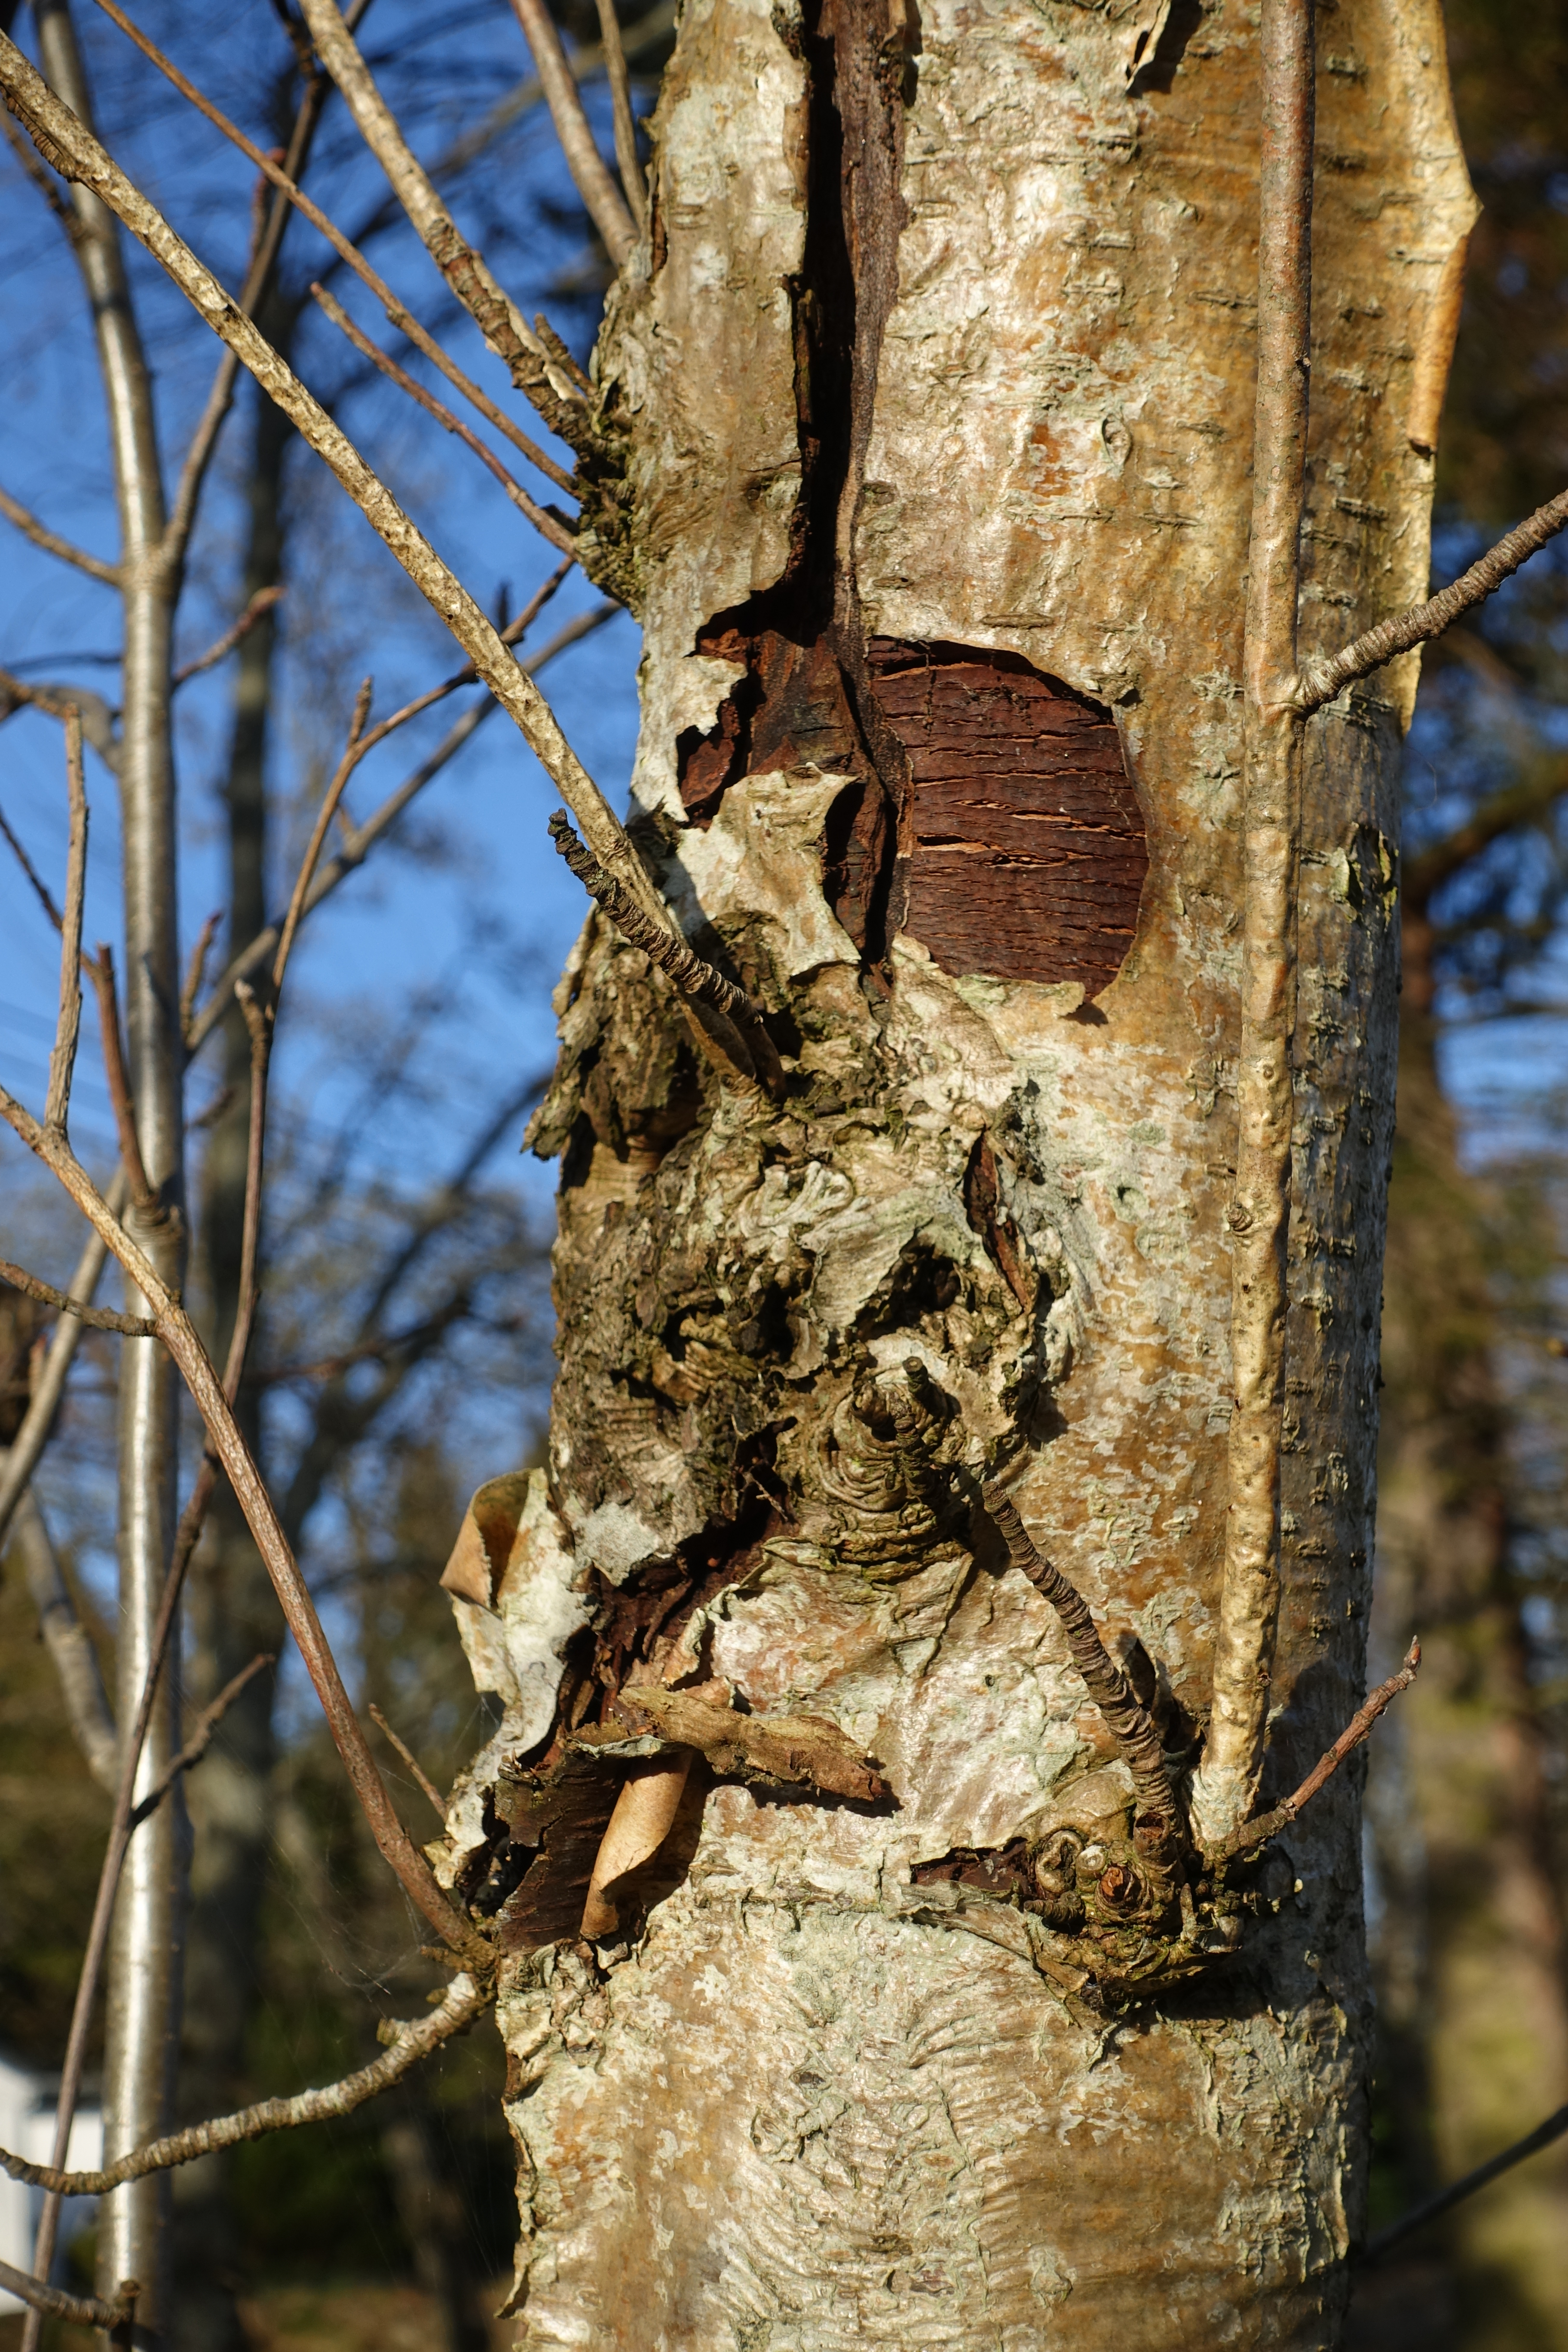
Last week we looked at drawing close-ups of trees. Today we’re going to draw the whole tree. Use the source images provided or search for your own then draw a larger picture of a tree. The surface texture of the bark will be much less important than the overall shape of the tree and the branches in this task.
Silhouettes are super useful in paintings, to show strong light sources and shadows. Getting the shape of trees just right will help with this a great deal.


Daily walk task 1
A Magical tree
With the group unable to meet at the school just now, Angus plans to share some of his lockdown lessons over the next few weeks. Called The Daily Walk, these will build pencil drawing skills and lead to the creation of a bigger piece.
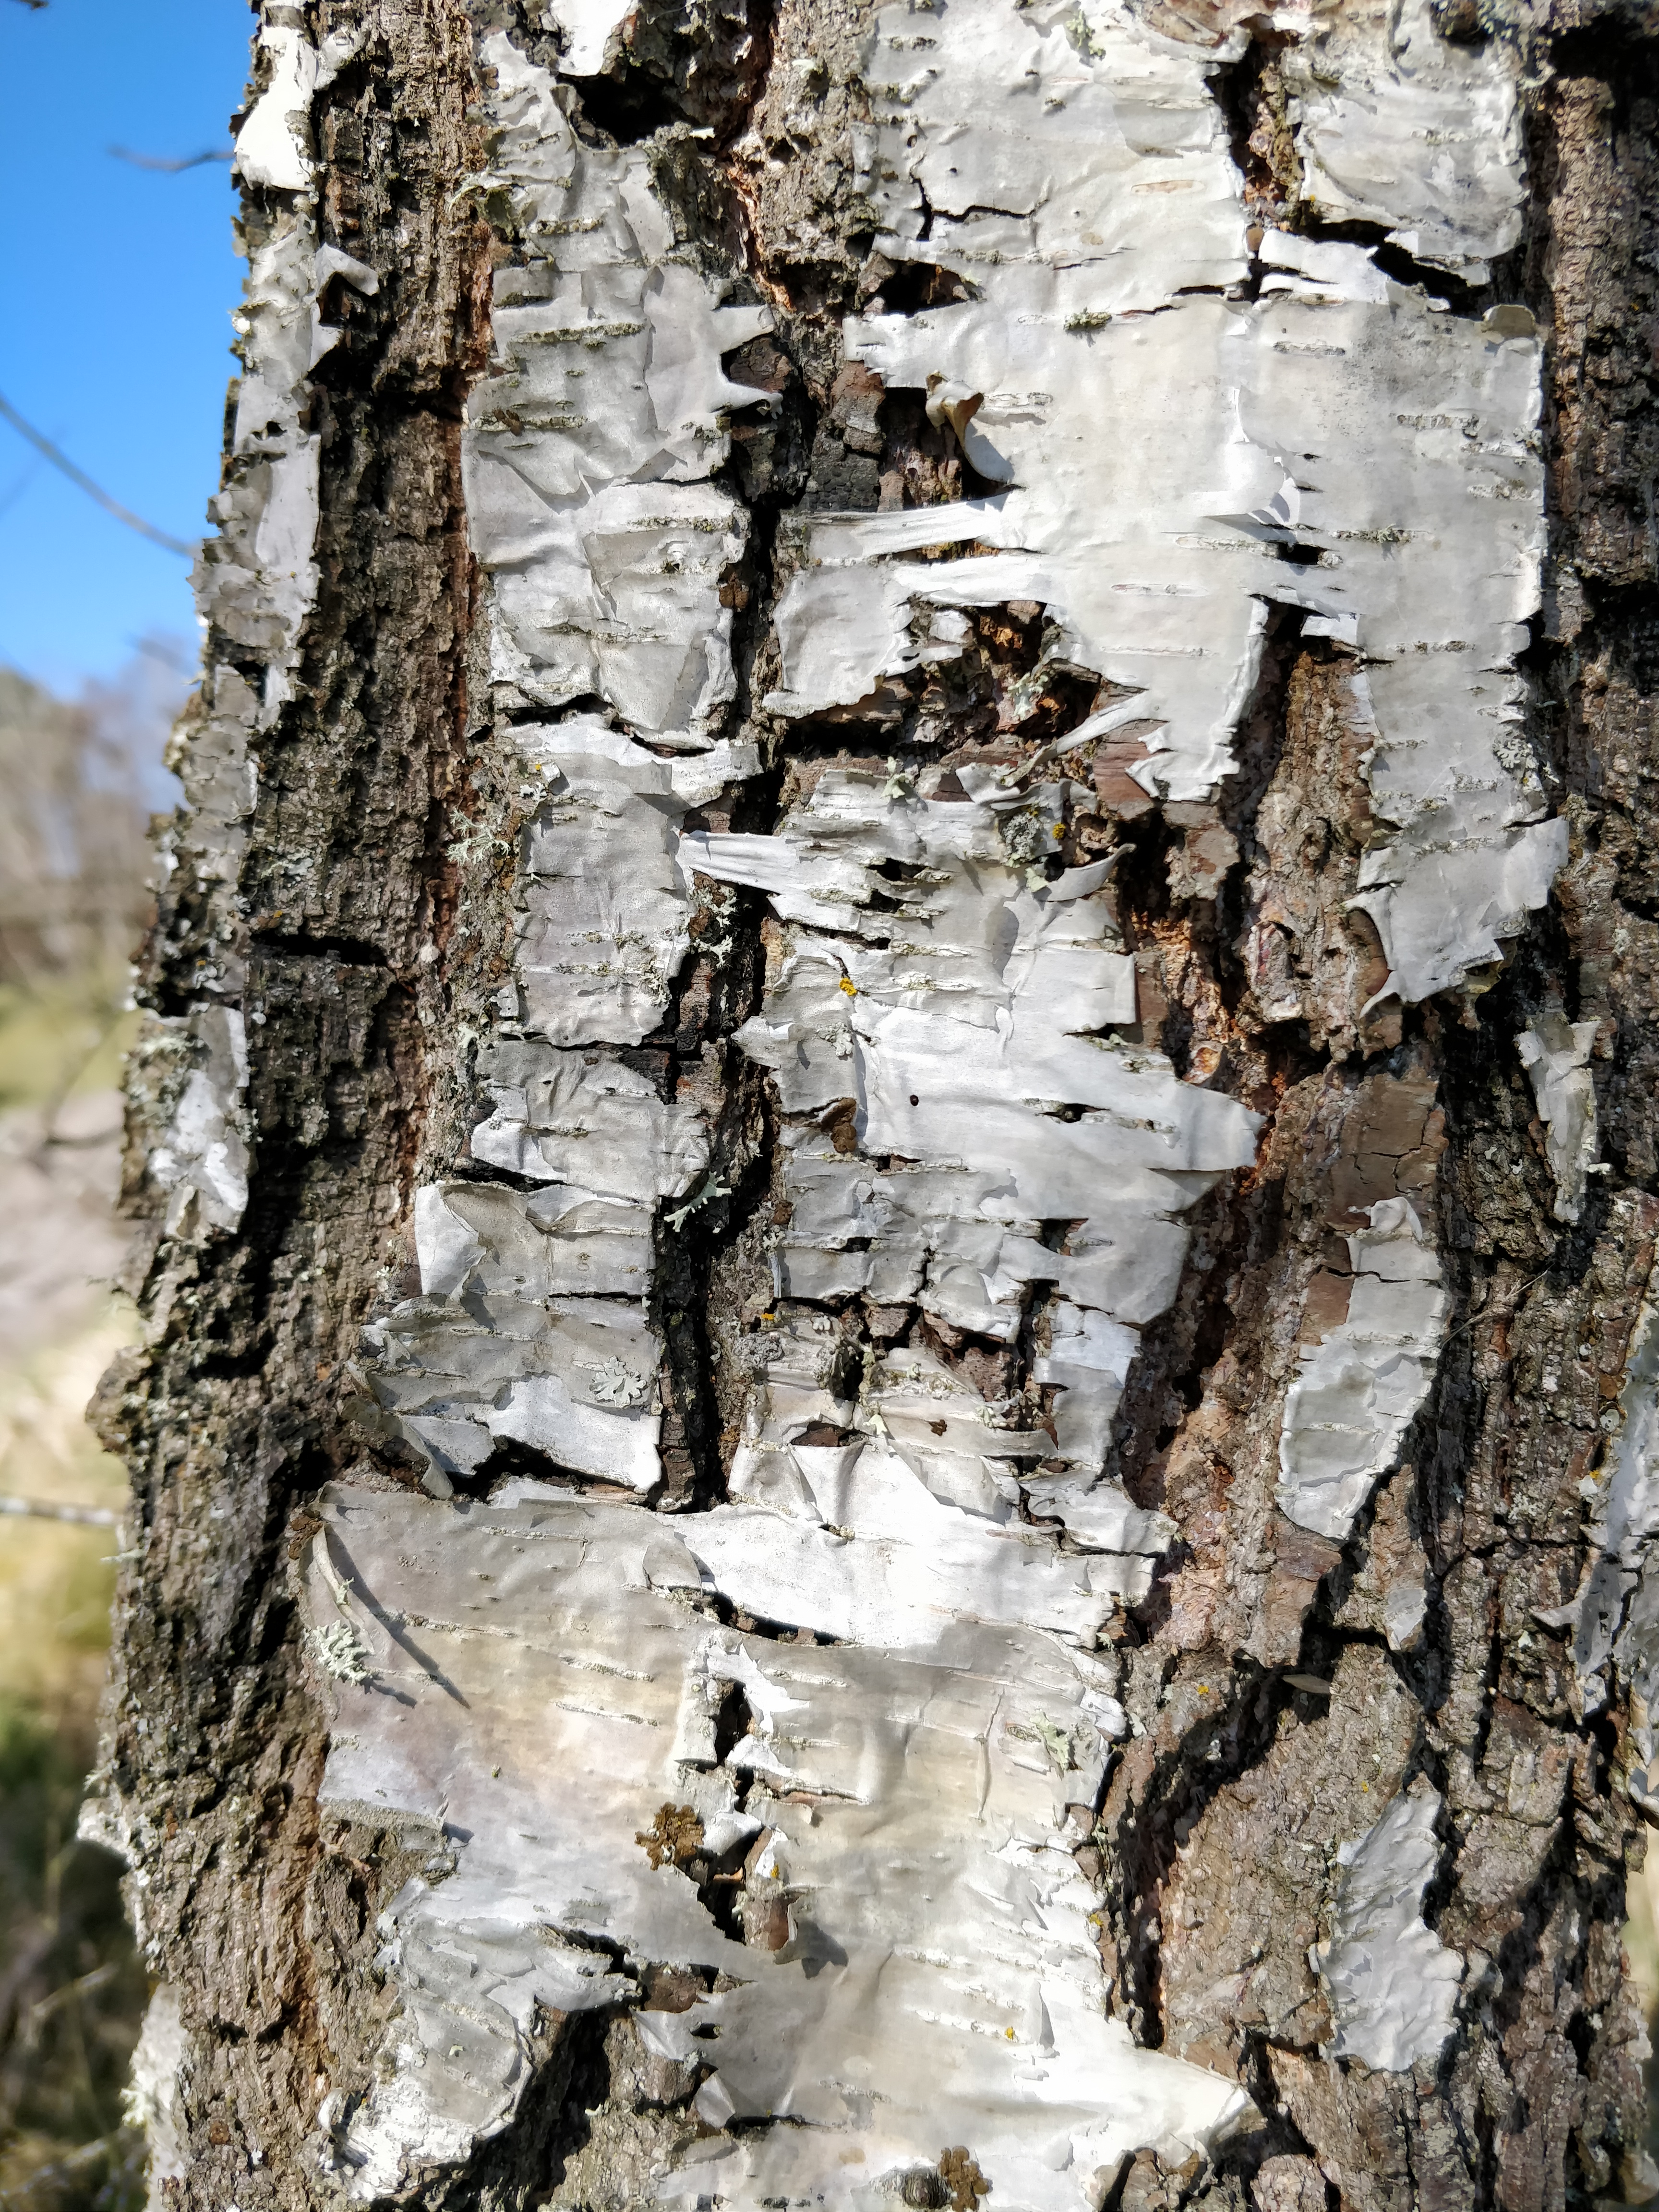
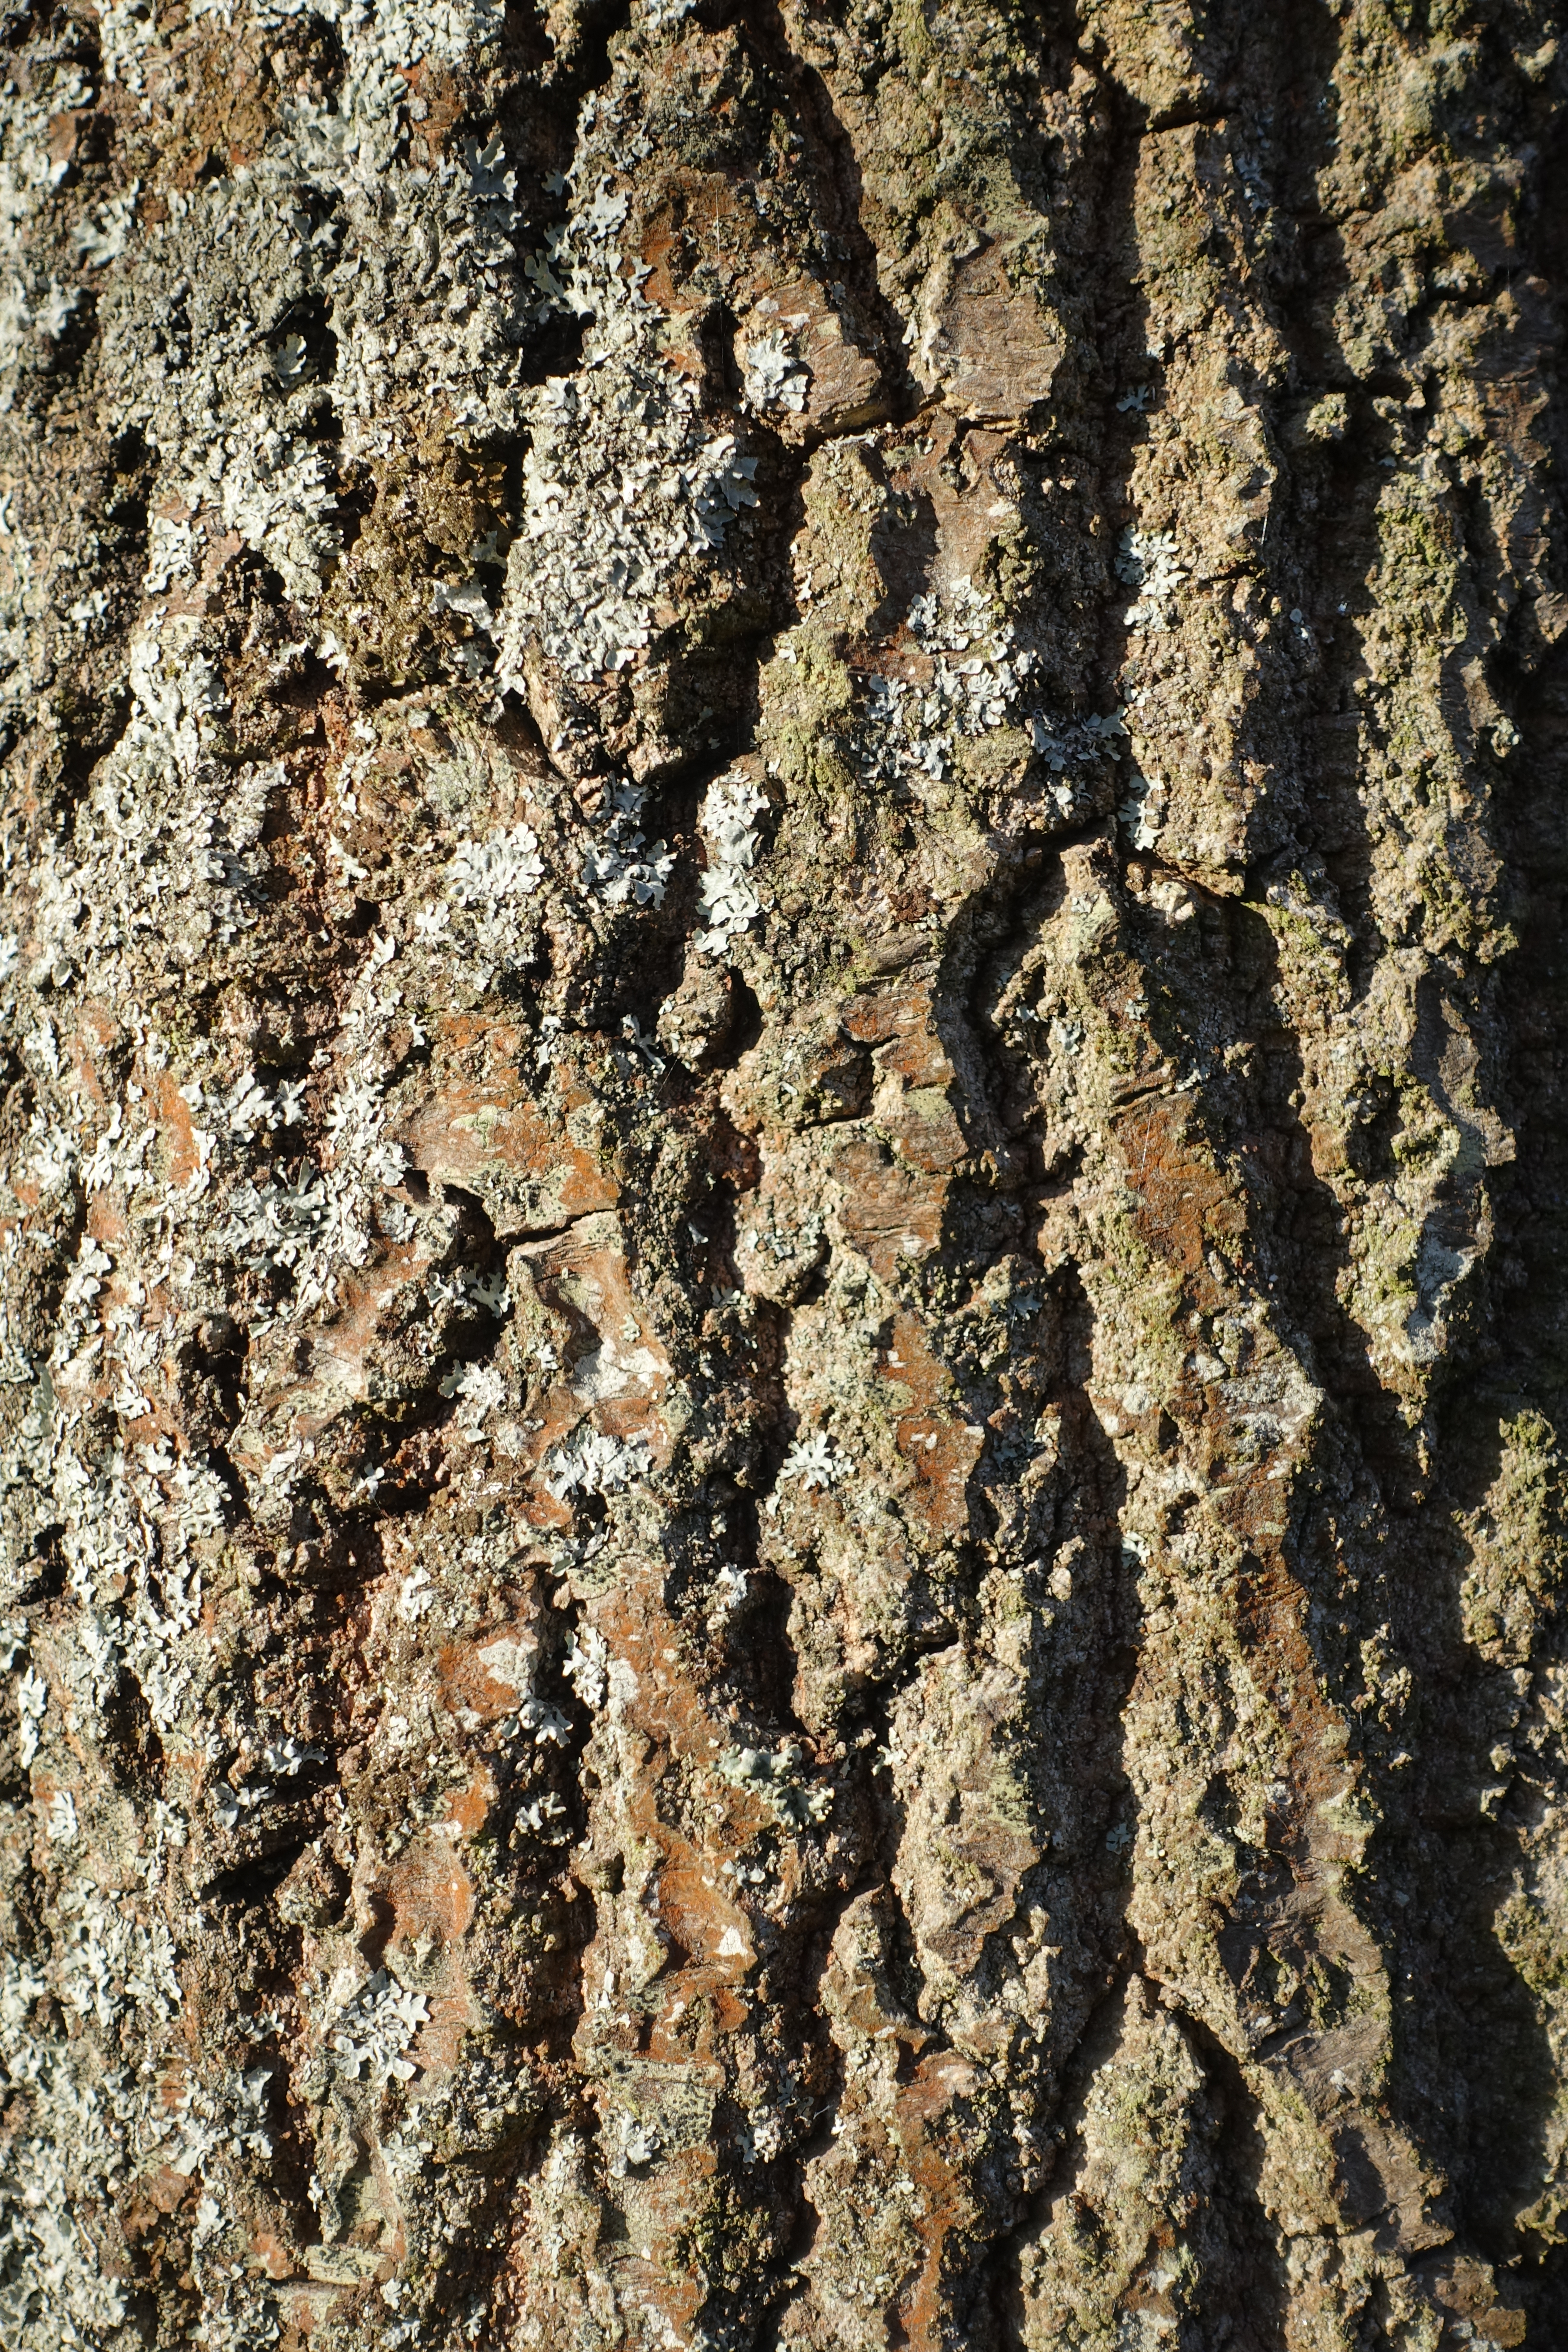
Attached is the first lesson, where we will draw a close-up of a tree. Have a look at the work of an artist called Mark Frith, in particular “A Legacy of Ancient Oaks”, or Dina Brodsky‘s “Secret life of Trees” for some inspiration. (Do this after you’ve watched my wee film so my drawing looks less lame!)
Here’s some source images to get you started, or feel free to take a walk and collect your own. Looking forward to seeing the results.


March 8: More clay
A chance to continue the clay work started at the previous class.
Angus showed us an example last week that we might try to emulate. He had cut tree shapes out of the sides of his dried pot. With a tealight inside, this would create lovely shadowy effect.
Time to get your thinking caps on?!

